기존에는 OG 이미지를 수동으로 제작하거나 템플릿 기반 도구를 사용했지만, Satori를 활용하면 React 컴포넌트로 이미지를 더 쉽게 생성할 수 있습니다.
아래 단계에 따라 구현하면 됩니다.
- Satori를 사용하여 React 컴포넌트로 SVG 생성
- Sharp로 SVG를 PNG 이미지로 변환
- Astro의 동적 라우트로 각 포스트마다 고유한 OG 이미지 제공
🚨
SVG를 생성하고 PNG로 변환하는 작업의 비용이 매우 크기 때문에, 이 작업은 빌드 시점(SSG)에서 수행되고 클라우드 런타임(SSR) 환경에서는 수행되지 않도록 주의해주세요.
1. Satori로 SVG 생성하기
Satori는 Vercel에서 관리하는 라이브러리로, HTML과 CSS를 SVG로 변환해주는 도구입니다. JSX 문법도 지원하기에 React 컴포넌트로 SVG 데이터를 쉽게 생성할 수 있습니다.
bun add -D satoribashimport satori, { type SatoriOptions } from 'satori';
const satoriOption: SatoriOptions = {
width: 1200,
height: 630,
};
export async function generateOgImage({
title,
desc,
}: {
title: string;
desc?: string;
}) {
const svg = await satori(
<div
style={{
boxSizing: 'border-box',
display: 'flex',
flexDirection: 'column',
justifyContent: 'center',
gap: '16px',
height: '100%',
width: '100%',
padding: '80px',
color: '#000',
backgroundColor: '#fff',
}}
>
<div style={{ fontSize: '64px', fontWeight: 700 }}>{title}</div>
{desc && (
<div style={{ marginTop: '20px', fontSize: '32px', color: '#464646' }}>
{desc}
</div>
)}
</div>,
satoriOption,
);
}tsx2. Sharp로 SVG를 PNG로 변환하기
Sharp는 Node.js 환경에서 이미지를 압축시키는 라이브러리입니다.
브라우저 환경에서는 동작하지 않으니 주의해야 합니다.
bun add -D sharpbash이전에 생성한 svg 문자열을 Buffer로 변환하여 이미지 처리를 할 수 있습니다.
export async function generateOgImage() {
  const svg = '...';

  const image = sharp(Buffer.from(svg)).png({
    compressionLevel: 9, // 최대 압축 레벨 (0-9)
    adaptiveFiltering: true, // 적응형 필터링으로 파일 크기 최적화
    palette: true, // 팔레트 기반 PNG로 변환 (색상 수가 적을 때 효과적)
    quality: 80, // 이미지 품질 (0-100)
  });

  return await image.toBuffer();
}tsx
3. Astro에서 OG 이미지 제공하기
이미지를 만들었으니 이제 이를 접근할 수 있도록 Astro에서 경로를 뚫어주면 됩니다.
저는 경로를 pages/og/[...slug].png.ts로 설정했습니다.
그럼 이 글의 OG 이미지는 /og/post/astro-dynamic-og.png에서 접근할 수 있습니다.
import type { APIContext } from 'astro';
import { getCollection } from 'astro:content';
import { format } from 'date-fns';

import { generateOgImage } from '~/libs/og-image';

const posts = await getCollection('post');

export function getStaticPaths() {
  return posts.map((post) => ({
    params: { slug: post.slug },
  }));
}

export async function GET(ctx: APIContext) {
  const post = posts.find((post) => post.slug === ctx.params.slug);
  if (!post) return ctx.rewrite('/404');

  const ogImage = await generateOgImage({
    title: post.data.title,
    desc: format(post.data.date, 'MMM dd, yyyy'),
  });

  return new Response(ogImage, {
    status: 200,
    headers: {
      'Content-Type': 'image/png',
    },
  });
}ts
Astro는 Response 헤더에서 이미지 포멧을 지정할 수 있습니다.
이제 블로그 페이지에서 OG 이미지 링크를 접근하면 됩니다.
import { getCollection } from 'astro:content';

export async function getStaticPaths() {
  const posts = await getCollection('post');

  return posts.map((post) => {
    return {
      params: { slug: post.slug },
      props: {
        title: post.data.title,
        description: post.data.description,
        image: `/og/${post.slug}.png`,
        // ...
      },
    };
  });
}ts
🍯 꿀팁
악마는 디테일에 있습니다.
OG 이미지의 퀄리티를 높이는 실용적인 팁들을 공유드립니다.
폰트 사용하기
폰트 파일 데이터를 받아서 satoriOption에 주입해주면 CSS fontFamily로 접근할 수 있습니다.
import satori, { type SatoriOptions } from 'satori';
async function getFontData(url: string) {
const fontResponse = await fetch(url);
return await fontResponse.arrayBuffer();
}
const [AritaBuri, AritaBuriBold] = await Promise.all([
getFontData(
'https://cdn.jsdelivr.net/gh/taevel02/typeface-arita/Arita-buriM.woff',
),
getFontData(
'https://cdn.jsdelivr.net/gh/taevel02/typeface-arita/Arita-buriB.woff',
),
]);
const satoriOption: SatoriOptions = {
// ...
fonts: [
{
name: 'Arita Buri',
data: AritaBuri,
weight: 400,
style: 'normal',
},
{
name: 'Arita Buri',
data: AritaBuriBold,
weight: 700,
style: 'normal',
},
],
};
export async function generateOgImage() {
const svg = await satori(
<div
style={{
fontFamily: 'Arita Buri',
// ...
}}
>
{/* ... */}
</div>,
satoriOption,
);
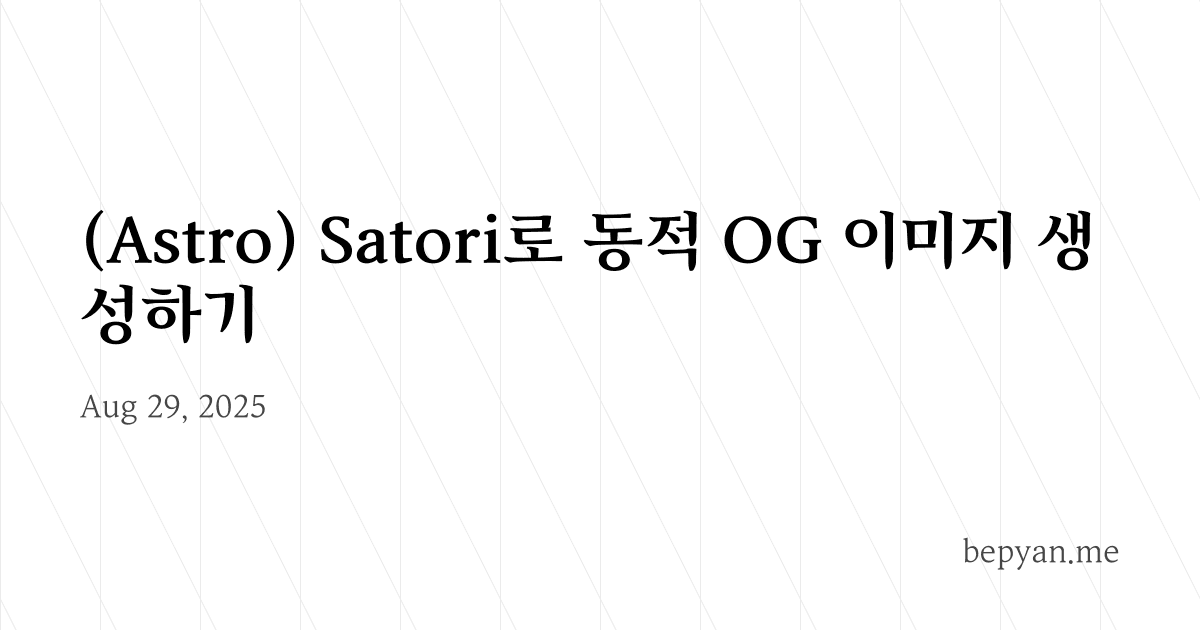
}tsx백그라운드 패턴 적용하기
이미지가 밋밋하지 않도록 백그라운드 패턴을 추가해주면 좋습니다.
await satori(
  <div
    style={{
      // ...,
      backgroundColor: '#fff',
      backgroundImage: `url("data:image/svg+xml,%3Csvg xmlns='http://www.w3.org/2000/svg' width='100' height='199' viewBox='0 0 100 199'%3E%3Cg fill='%23000000' fill-opacity='0.08'%3E%3Cpath d='M0 199V0h1v1.99L100 199h-1.12L1 4.22V199H0zM100 2h-.12l-1-2H100v2z'%3E%3C/path%3E%3C/g%3E%3C/svg%3E")`,
    }}
  >
    {/* ... */}
  </div>,
);tsx
https://heropatterns.com/ 에 좋은 자료가 많습니다.
패턴의 색상과 투명도를 조절해서 CSS 스타일에 적용해주면 됩니다.
맺으면서
Astro에서 Satori와 Sharp를 활용하여 동적으로 OG 이미지를 생성하는 방법을 살펴보았습니다.
동적 OG 이미지 생성은 단순히 자동화를 넘어서, 일관된 브랜드 아이덴티티를 유지하면서도 각 콘텐츠의 고유한 정보를 효과적으로 전달할 수 있는 강력한 방법입니다. 특히 블로그나 문서 사이트처럼 콘텐츠가 지속적으로 추가되는 프로젝트에서 적용하면 유용할 것입니다.